


The plugin to enable wordpress themes to add its own admin color schemas directly from theme
- Adding new admin color shemas directly with theme
- Activating specific admin color schema for every new registered user automatically
- Removing admin color picker from users profile
- Applying selected admin color shema on the wordpress adminbar in the frontend
- Download the plugin as zip archive and then upload it to your wordpress plugins folder and extract it there.
- Activate the plugin from your admin panel
- run composer command :
composer require hyyan/admin-color-schema
The plugin comes with an example to see how the plugin works , it is under
example/Dark folder.
To use the example :
- Copy
example/Darktoyour/theme/folder/color-schema/Dark - Activate the new schema from you profile
The plugin comes with following configuration as default :
$default = array(
    // path relative to the theme dir
    'path' => '/color-schema',
    // default color-schema to activate for every new user
    'default' => '',
    // if true the user will be no more able to change its dashboard color schema
    // and the default one will be used
    'disable_color_picker' => false,
    // enable color-schema on fontend
    'enbale-on-frontend' => true,
);
You can override the default configuration using add_filters function like
in the following example :
// in the your theme's functions.php file

add_filter('Hyyan\AdminColorSchema.options', function(array $default) {

    // read schemas from "admin-color-schema" folder relative to current theme
    $default['path'] = '/admin-color-schema';

    // use Bluetheme as default schema for every new user
    $default['default'] = 'BlueTheme';

    return $default;
});If you are using the default path in the plugin configuration then :
- Create
color-schemain your theme root dir - Create new schema dir for example :
vividin thecolor-schema - Create
schema.inifile and configure it like in the following example :
; the name of your theme if not set the current dir name will  be used
; for example if your theme live in "color-schema/vivid" then "vivid" will be used as name of theme
name= my create theme

;your translaion domain if not set the 'defualt' domain will be used
;the domain will be used to translate the theme name
domain= default

; colors preview (4 colors)
colors []= #52accc
colors []= #e5f8ff
colors []= #096484
colors []= #e1a948

; icons colors preview (4 colors)
icons []= #52accc
icons []= #e5f8ff
icons []= #096484
icons []= #e1a948- create 'colors.scss' like the following example then complie it into
colors.css
$base-color: #52accc;
$icon-color: #e5f8ff;
$highlight-color: #096484;
$notification-color: #e1a948;
$button-color: #e1a948;

$menu-submenu-text: #e2ecf1;
$menu-submenu-focus-text: #fff;
$menu-submenu-background: #4796b3;

@import "...../wp-admin/css/colors/_admin.scss";
You are done ...
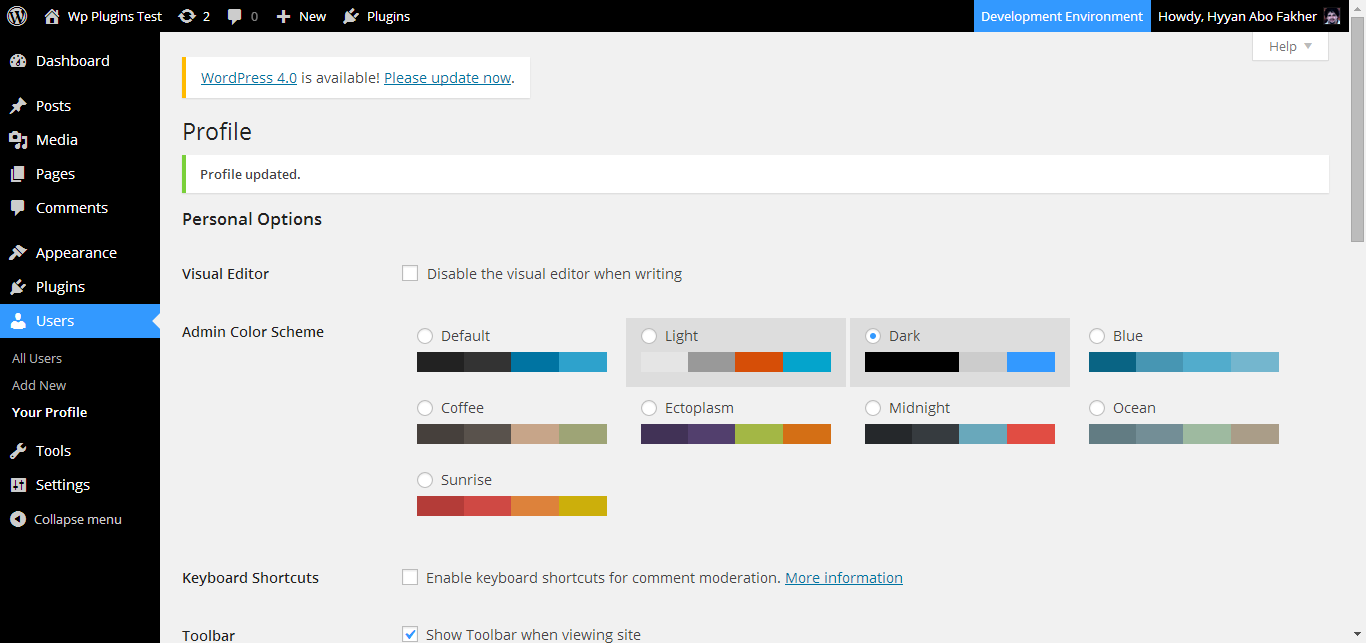
Go to your profile now and you will see your new color schema whiche you can activate
Everyone is welcome to help contribute and improve this plugin. There are several ways you can contribute:
- Reporting issues (please read issue guidelines)
- Suggesting new features
- Writing or refactoring code
- Fixing issues