

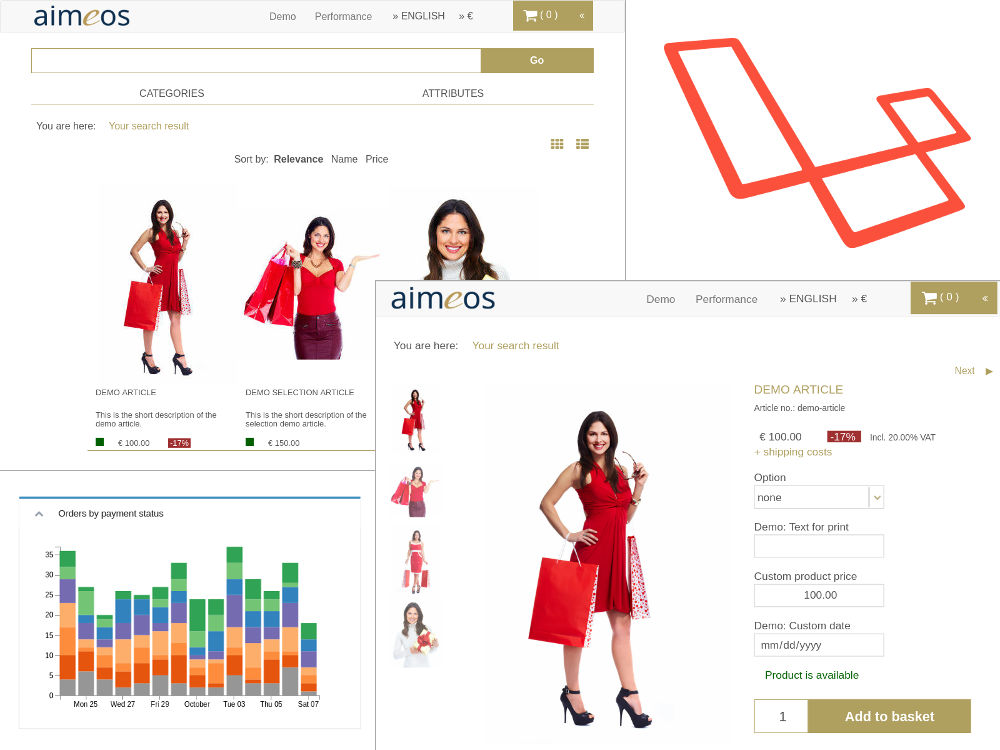
The repository contains the web shop package for Laravel 5 integrating the Aimeos e-commerce library into Laravel. The package provides controllers for e.g. faceted filter, product lists and detail views, for searching products as well as baskets and the checkout process. A full set of pages including routing is also available for a quick start.
If you want to upgrade between major versions, please have a look into the upgrade guide!
The Aimeos Laravel web shop package is a composer based library that can be installed easiest by using Composer. Add these lines to your composer.json of your Laravel project:
    "prefer-stable": true,
    "minimum-stability": "dev",
    "require": {
        "aimeos/aimeos-laravel": "~2016.01",
        ...
    },
    "scripts": {
        ...
        "post-update-cmd": [
            "php artisan vendor:publish --tag=public --force",
            "php artisan vendor:publish",
            "php artisan migrate",
            ...
        ]
    }
Afterwards, install the Aimeos shop package using
composer update
Caution: Make sure that the database is set up and it is configured in your
config/database.php or .env file (depending on the Laravel version). Sometimes,
the .env files are not available in the Laravel application and you will get exceptions
that the connection to the database failed. In that case, add the database credentials
to the resource/db section of your ./config/shop.php file too!
Next, the Aimeos provider class must be added to the providers array of the
config/app.php file so the application and Laravel command task will work:
return array(
    'providers' => array(
        ...
        Aimeos\Shop\ShopServiceProvider::class,
    ),
);
In the last step you must now execute these artisan commands to get a working or updated Aimeos installation:
php artisan vendor:publish
php artisan migrate
php artisan aimeos:setup --option=setup/default/demo:1
php artisan aimeos:cache
In a production environment or if you don't want that the demo data gets
installed, leave out the --option=setup/default/demo:1 option.
To see all components and get everything working, you also need to adapt your
main Blade template in resources/views/app.blade.php. This is a working
example using the Twitter bootstrap CSS framework:
<!DOCTYPE html>
<html lang="en" class="no-js">
<head>
	<meta charset="utf-8">
	<meta http-equiv="X-UA-Compatible" content="IE=edge">
	<meta name="viewport" content="width=device-width, initial-scale=1">
@yield('aimeos_header')
	<title>Aimeos on Laravel</title>

	<link href='//fonts.googleapis.com/css?family=Roboto:400,300' rel='stylesheet' type='text/css'>
    <link href="//maxcdn.bootstrapcdn.com/bootstrap/3.3.1/css/bootstrap.min.css" rel="stylesheet">
@yield('aimeos_styles')
	<link href="/css/app.css" rel="stylesheet">
</head>
<body>
	<nav class="navbar navbar-default">
@yield('aimeos_head')
	<div class="container-fluid">
			<div class="navbar-header">
				<button type="button" class="navbar-toggle collapsed" data-toggle="collapse" data-target="#bs-example-navbar-collapse-1">
					<span class="sr-only">Toggle Navigation</span>
					<span class="icon-bar"></span>
					<span class="icon-bar"></span>
					<span class="icon-bar"></span>
				</button>
				<a class="navbar-brand" href="#">Laravel</a>
			</div>

			<div class="collapse navbar-collapse" id="bs-example-navbar-collapse-1">
				<ul class="nav navbar-nav">
					<li><a href="/">Home</a></li>
				</ul>

				<ul class="nav navbar-nav navbar-right">
					@if (Auth::guest())
						<li><a href="/auth/login">Login</a></li>
						<li><a href="/auth/register">Register</a></li>
					@else
						<li class="dropdown">
							<a href="#" class="dropdown-toggle" data-toggle="dropdown" role="button" aria-expanded="false">{{ Auth::user()->name }} <span class="caret"></span></a>
							<ul class="dropdown-menu" role="menu">
								<li><a href="/auth/logout">Logout</a></li>
							</ul>
						</li>
					@endif
				</ul>
			</div>
		</div>
	</nav>
    <div class="col-xs-12">
@yield('aimeos_nav')
@yield('aimeos_stage')
@yield('aimeos_body')
@yield('aimeos_aside')
@yield('content')
	</div>

	<!-- Scripts -->
	<script src="//cdnjs.cloudflare.com/ajax/libs/jquery/2.1.3/jquery.min.js"></script>
	<script src="//cdnjs.cloudflare.com/ajax/libs/modernizr/2.8.3/modernizr.min.js"></script>
	<script src="//cdnjs.cloudflare.com/ajax/libs/twitter-bootstrap/3.3.1/js/bootstrap.min.js"></script>
@yield('aimeos_scripts')
	</body>
</html>
Note: Since Laravel 5.0 CSRF protection is enabled by default but for the
/confirm and /update routes, you may have to disable CSRF
if one of the payment providers is sending data via POST requests.
Afterwards, you should clear the Laravel cache files. Otherwise, you might get an exception due to old cached data.
php artisan cache:clear
Then, you should be able to call the catalog list page in your browser. For a quick start, you can use the integrated web server that is available since PHP 5.4. Simply execute this command in the base directory of your application:
php -S 127.0.0.1:8000 -t public
Point your browser to the list page of the shop using:
http://127.0.0.1:8000/index.php/list
To use the admin interface, you have to set up Laravel authentication first. Please follow the Laravel documentation to create the necessary code. Test if your authentication setup works before you continue.
Create an admin account for your Laravel application so you will be able to log into the Aimeos admin interface:
php artisan aimeos:account <email> --admin
The e-mail address is the user name for login and the account will work for the frontend too. To protect the new account, the command will ask you for a password.
As a last step, you need to extend the boot() method of your
App\Providers\AuthServiceProvider class and add the lines to define how
authorization for "admin" is checked:
public function boot(GateContract $gate)
{
	// ...

	$gate->define('admin', function($user) {
	    return app( '\Aimeos\Shop\Base\Support' )->checkGroup( $user->id, 'admin' );
	});
}
If you've still started the internal PHP web server (php -S 127.0.0.1:8000 -t public)
you should now open this URL in your browser:
http://127.0.0.1:8000/index.php/admin
Enter the e-mail address and the password of the newly created user and press "Login".
If you don't get redirected to the admin interface (that depends on the authentication
code you've created according to the Laravel documentation), point your browser to the
/admin URL again.
Caution: Make sure that you aren't already logged in as a non-admin user! In this case, login won't work because Laravel requires to log out first.
To simplify development, you should configure to use no content cache. You can
do this in the config/shop.php file of your Laravel application by adding
these lines at the bottom:
    'madmin' => array(
        'cache' => array(
            'manager' => array(
                'name' => 'None',
            ),
        ),
    ),
The Aimeos Laravel package is licensed under the terms of the MIT license and is available for free.